Brandy snaps were my mother-in-law’s absolute favourite. So eager to please (in the early stages of my relationship with Ben) I attempted to make her some as a birthday gift. After several angry hours in the kitchen and lots of wasted ingredients I ended up with THREE that were just about presentable.
I then swore that I would never, ever make them again. But that was 10 years ago now.
On another, but relevant note (bear with me here), I am having a year of rereading. This is a brilliant experience which I would definitely recommend. In many cases I am enjoying my favourite books even more the second time around. And as the books are a stable, unchanging thing, this is highlighting to me just how much I’ve changed. I am rereading the books through older, more experienced and perhaps wiser eyes.
My experience with trying to make brandy snaps again after 10 years is similar. The memory of failure has nagged at me for all these years but this time around they came out just fine with a minimum of stress and I wondered what an earth all the fuss had been about. The thing is, it’s not the recipe that’s changed – it’s me. I’m definitely now more patient (which probably goes hand in hand with being a mother). I also now except advice and don’t assume I know it all already.
Plus, the amazing teaching tool that is YouTube didn’t exist all those years ago (if my instructions below are in anyway unclear I recommend watching Mary Berry’s YouTube video).
Mary Berry’s brandy snaps
Makes 8-12
- 50g of butter
- 50g of demerara sugar
- 50g of golden syrup
- 50g of flour
- ½ a teaspoon of lemon juice
- ½ a teaspoon of powdered ginger
Put the butter, sugar and syrup into a small saucepan and heat very, very slowly, stirring regularly until all the ingredients are melted. Take your time here and make sure that all the sugar has dissolved and is not grainy. It will take around 10-15 minutes (put your patient head on). Leave to cool a little (for around 5 minutes).
Measure out the flour and ginger and sieve into the saucepan once the butter/sugar/syrup mix has cooled.
Give everything a good stir and add the lemon juice. The mixture should now be smooth and glossy.
Take a flat baking tray and line with some baking parchment. Dollop a teaspoon of the mix onto the baking tray. Leave plenty of space between each dollop as they will spread out massively. I recommend 4 to each sheet and doing them in batches.
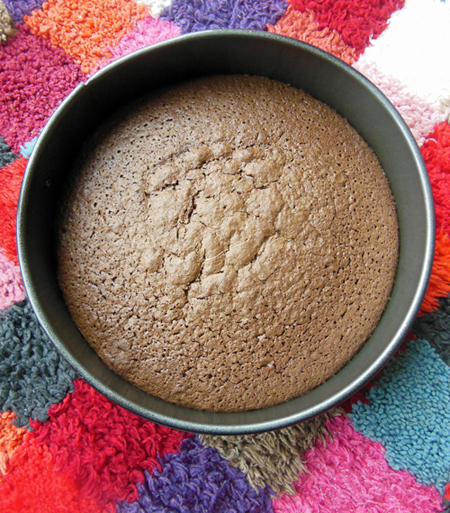
Place in an oven preheated to 160oC fan to bake. They will take around 10 – 15 minutes but start watching after 8. They should spread out and turn lacy and a nice deep golden colour.
Take them out of the oven and leave to cool for a few minutes. You will not be able to shape them straight from the oven as they will still be too runny.
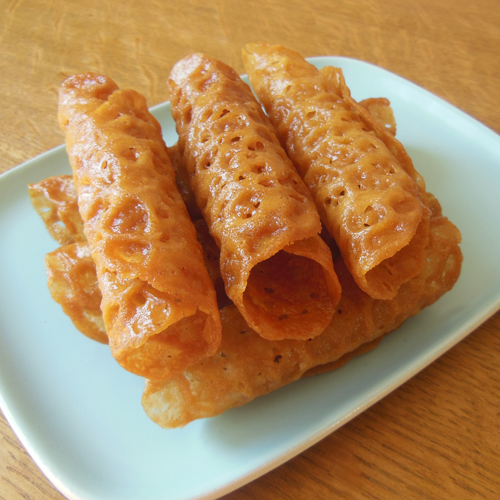
When just firm enough, use a palette knife to carefully lift each brandy snap off the baking sheet. Then curl around a well-greased wooden spoon to shape. You can also make baskets by placing them over the bottom of a glass.
Leave to cool completely and go rock hard and then keep in an air tight container.
I prefer them unfilled but you can fill them with whipped cream if you like (you will need a piping bag and nozzle for this). Or cheat and use squirty cream. But don’t fill them until you are ready to eat or they will go soft.